If you have a website, I’m sure you’ve worked long and hard hours to make it a useful resource for your visitors. However, if your links are broken, it can jeopardize all of your hard work. Your website’s broken links can be harmful in two ways:
- They create a negative user experience — Users become disappointed when they click on links and receive 404 errors, and they may never return.
- They devalue your SEO efforts – Broken links prevent link equity from flowing freely throughout your site, which has a negative influence on rankings.
To avoid these hazards, you should examine your entire website for broken links on a regular basis. You’re not alone if you’re stumped as to how to do this. The good news is that we’ve done this job before and have recorded everything in an easy-to-follow, step-by-step procedure that we hope you’ll find useful. So, here’s a step-by-step tutorial on finding and fixing broken links on your website.
Step 1: Locate any broken links.
You can identify broken links with a variety of tools, many of which are free.
Google Analytics
Google Analytics is a fantastic free tool for tracking website performance and quickly identifying broken links. To get started, go to your Google Analytics account and select the Behavior tab. Then choose “Site Content,” followed by “All Pages.”
Make sure the evaluation period corresponds to the amount of time you intend to spend looking at it. Set the period for the month since your last check if you check for broken links monthly.
You’ll see viewing options if you scroll down. It will most likely be set to “Page,” but make sure to change it to “Page Title.”
A page title filter can now be created. Select the “advanced” option:
Set your filtering to Include >Page Title>Containing>”Your 404 Page Title” once you’re in the “advanced” section.
After clicking “Apply,” you’ll be shown one or more page titles that include that name. We only have one because this was only a one-month period.
When you click on the page title, you’ll get a list of broken links that lead to the 404 page.
If you know all of the areas where the links appear on your website, you may convert the report into a spreadsheet and update the links, or set up redirects to route to the proper page.
The 404 error page is triggered by a variety of nonexistent or broken links. Although most websites contain a simple message, it is great practice to provide the visitor with a call to action. You can link to your home page, your blog’s home page, or your contact page.
Google Analytics allows you to set up email alerts to receive these broken link reports on a regular basis, as well as export the data of broken links. It’s important to keep in mind that redirecting and resolving broken links is a continuous activity. Once a month is an appropriate cadence for the average website.
Ahrefs
Ahrefs is another free tool we recommend. After you’ve visited the Ahrefs website, enter your website’s domain. Click on “internal links” and select “broken links”.
Step 2: Make a report and keep track of your progress.
Create a Google sheet spreadsheet to track link redirect processes when you’ve identified your broken links. Something along the lines of “Broken Link Redirect Report” might be a good name for it. By choosing Export – CSV for Excel on the upper right side of the screen and downloading the file, you can export the report you just prepared in Ahrefs.
You can also export data from Google Analytics; on the top of the screen, choose File, then Export to CSV for Excel, and then open the file in Excel.
Then, in your spreadsheet, organize the primary data from Google Analytics or Ahrefs. It will resemble the following:
Step 3: Review the information and determine which pages should be redirected.
After all of the preparation, we’ve arrived at the crucial stage. Both Google Analytics and Ahrefs provide a list of potentially broken links. However, before you redirect them, you should examine the pages and the reasons why they aren’t performing properly.
I’ve personally gone through the links one by one to identify the average monthly traffic coming to each page according to Ahrefs, but the easiest way to do it would be to derive traffic information directly from Google Analytics if you are not able to do it on a free subscription to Ahrefs.
We can see from the example above that not all broken connections are created equal. Some URLs are viewed frequently, while others are not. Broken links or trips to stray URLs occur frequently, but just once. These URLs, like the final two in the screenshotted list, may be the result of a human mistake or someone mistyping an incorrect URL into the address bar and are not worth changing. Broken links with multiple visits, on the other hand, are certainly worth the time and effort to fix because they demonstrate a pattern (even if it is one of human error).
We can also simply figure out the proper URL for certain links and fill in the data in the spreadsheet; for others, we can put a tentative URL there and highlight it with a different color; and for the rest, we can redirect to the domain homepage. Finally, we will only reroute URLs with a high number of visitors and those that have an underlying error-causing rule.
Step 4: Redirect in WordPress
Finally, under your WordPress content management system, it’s time to redirect the broken links (CMS). I have downloaded two WordPress plugins that have made it extremely easy to redirect my links. One automatically redirects links using the URL that matches the old URL the closest, and it has actually proven to be quite accurate. The second allows you to manually redirect links by typing in the old link in a field, and the new link in a field next to it.
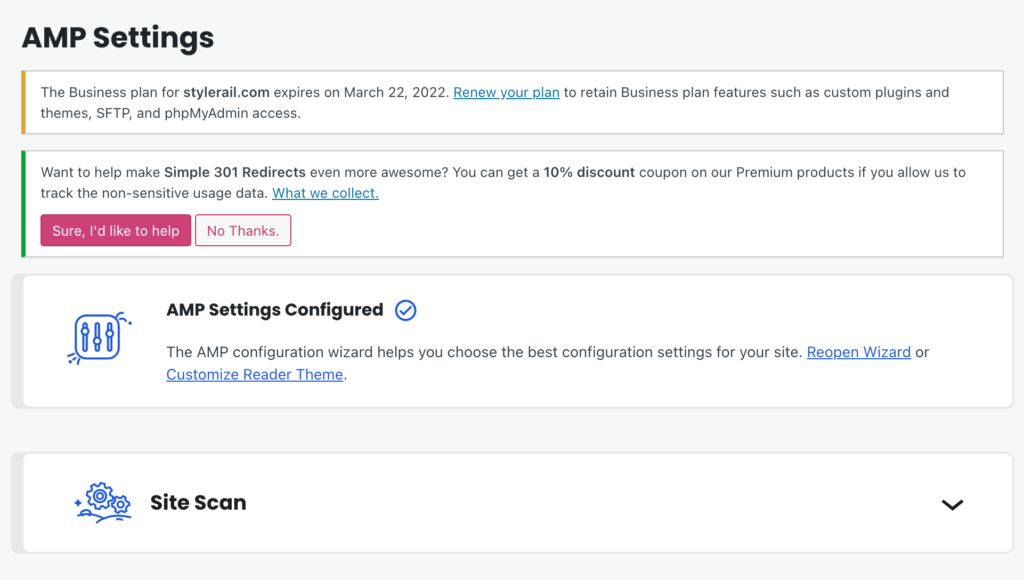
Go to Plugins—New Plugins. Search for “AMP” and “301 redirects”. Select “301 Moved Permanently” in the drop-down Redirect Type menu. Click “Create new redirect”. For AMP, you just need to select a few settings and it does the work for you.

To redirect all broken links, repeat the aforementioned process for the URLs you need to manually redirect and update the Broken Link Redirect Report (I’ve done so by highlighting the redirected ones in green highlights).
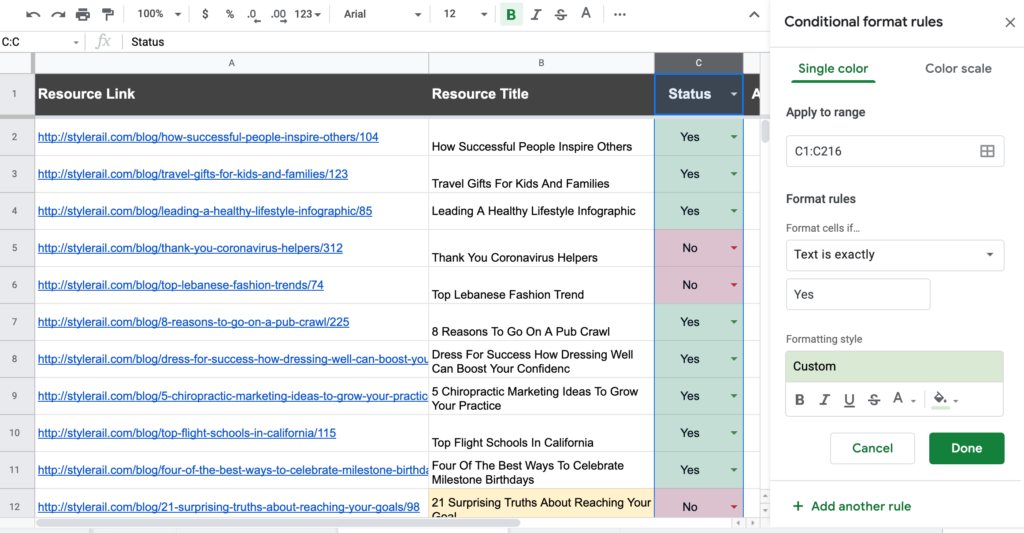
It might be easier to create a new column with “Yes” and “No” as data validation options so that you can filter the redirected ones from the non-redirected one (see the below screenshot):

You can see that I’ve used conditional formatting to indicate the redirect status of each link.
The mission has been completed! Now you can be even more proud of your website because all of your links are working, which pleases both users and search engines!